Primary Science Centre

Primary Science Centre

Celebrating over 20 years of collaboration between QMC and AWE:
Supporting Science Education in Basingstoke

The Science Centre at Queen Mary’s College is a specially designed science laboratory for use by primary school children aged 4-11.

  • Fun and interactive sessions, led by expert staff.
  • Hands-on scientific experimentation and investigation.
  • Laboratory, dark area, dedicated toilets and a fully enclosed science garden with ponds.
  • Extensive range of quality equipment and resources cover the entire primary science curriculum.

Book your free sessions
We are able to offer bespoke sessions to suit the needs of your school. Sessions can get booked up quickly so we advise booking several months in advance of your required date by emailing us at science.centre@qmc.ac.uk   or call 01256 417500 (Ext 7700)

Year 1

Read About

Parts of a plant
Working as a group, the children discuss the parts of the plant and their function.
The children create a plate of food from plants identifying the part of the plant that the food is derived by sticking pictures with the correct labels.

What is the tree called?
Using 4 mature trees just outside the Science Centre the children match evidence they find on or below the tree with pictures so they can find out the name.
The children can also do bark rubbings and leaf prints.

Measuring the spread and girth of one tree and comparing the height to surrounding buildings. Also thinking about the size of the seed and comparing this to the size of the mature tree.

Winter tree detectives
Using a simple key to work out four different trees from their twig bud arrangement/ colour and bark, and then using this information to study the actual trees.

Plant treasure hunt
Children to study the leaves from different plants in the science centre garden noting similarities and differences.
Then they need to find specific plants from the garden using drawings and identification charts collecting a leaf and drawing the flower and noting the colour if in flower.

Studying the life cycle of a dandelion
For much of the year it is possible to find the life cycle stages of a dandelion.
The experiment looks at the stages in the life cycle using dug up or specially grown plants.
This allows all parts of the plants to be studied.

What’s inside a winter bud?
Deciduous trees form buds in the previous year that will then produce new growth the following spring. In late winter the large buds of trees or shrubs e.g. Horse Chestnut and Magnolia are large enough to peel apart in layers like an onion to discover what is inside and studied with magnifying glasses and microscopes.

Seasonal changes Autumn/winter/spring
Looking at the plants in the Science centre garden and wider grounds as well as thinking about weather and soil conditions.

Year 2

Read About

Make a seed booklet
This allows the children to think about what a seed is and that it has all the information needed to start a new plant.

Growing new plants
Children to make paper pots and plant a flower seed, vegetable seed and an onion set. The children then grow these back at school.

Looking at germinating seeds
The children study sets of seeds that have started to germinate at staggered intervals and also ones that have been kept dark/light.

Looking at conditions needed for plant growth
As a class all the children plant seeds. Each group set up the seeds to be grown in specific conditions – e.g. dark/light, warm/cold, dry/ wet, type of soil. The seeds are then taken back to school to continue the experiment.

Summer seed search
After a group discussion about why plant make seeds the children use the Science Centre garden to find a plant that has made seeds. The seed head is picked and the seeds found and studied using hand lens/microscope. They may be able to see interesting features like the parachute structure attached to a dandelion seed and suggest reasons why the dandelion makes this.

If time a few of each type of seed can be planted and taken back to school to observe over time.

Animals (including humans)

‘What do farm animals give us’
2 sets of cards: Farm animal pictures; products from farm animals.
The cards are placed face down in sets and the children turn up a card from each set to see if they match.

Lucky dip vertebrates
Each child/pair of children has a class of vertebrate to assemble i.e. mammals, reptiles, birds, fish, and amphibians.
The children take it in turns to dip into the bag and pull out a prop or picture. If it matches the class of vertebrates that they are collecting it is kept. The first to assemble all the features are the winners.

Sorting out vertebrates
The children then study pictures of vertebrates and have to sort out the pictures into the correct classes.

Am I a pet, farm animal or a wild animal?
3 large pictures: Countryside and wild space (for the wild animals); a Farm, and a House (for the pets) together with 12 animal pictures. Each group needs to decide where each animal usually belongs, whether there are any animals to be found in more than one group, what is the name of the home, put the animals into their correct home, match the young animal name with that of the parent, think of a collective name for a group of them and check the correct collective name of each group of animals with information in a table.

Animals and their environment
A group discussion as to what Pets, Farm animals and Wild animals need to thrive.

Understand what changes the natural environment making it more difficult for wildlife to survive.
Walk around outside to see what QMC is doing to help wildlife and identify on a plan what you found that encourages all the wild creatures.

Herbivores and carnivores
Children sort out the pictures of vertebrates and non-vertebrates according to what they eat (Herbivores, Carnivores and Omnivores)

Look at examples of human food and identify which part of the plant it originated and how it may have been treated.

Vertebrate booklet
Skeleton models, x-rays and pictures are used to compare a familiar vertebrate from each class and how their differences relate to how they live.
Children fill in a pre-prepared booklet that details the attributes for each class of vertebrate by circling the correct information, sticking in pictures and a representation of each of the skin types and colouring in pictures

Body organs
Using the body organs tabard, pictures and anatomical models the children locate the major organs and find out the main function of each.

Animals including humans year 2

How Humans grow
The children discuss the changes that they know from babyhood to adult hood.
Group activity – assemble the human. There are 5 ¾ life-size models of humans from babyhood to adulthood to be assembled using by Velcro. Can the children assemble the pieces (head, body, arms, legs correctly.
Once assembled discussion about how proportions change as the body grows.

Investigate how germs spread
Make a balloon sneeze glitter germs then monitor how the germs spread throughout the lesson.
Washing hands experiment to show why good hygiene is important and why it is important to use soap

Life stages of animals
An introductory discussion using pictures about how the young of many creatures may look very different to the adult form leads onto an activity where the children put the models of life cycle stages in the correct order for a number of vertebrates and invertebrates.
Cut and stick activity putting the human life cycle in order.

Measuring ourselves
Looking at growth variation within the class by collecting a series of 6 measurements of each child in the class for data handling activity back at school

What do animals need to survive
A group game: each child has a creature and counters representing shelter, life, food and water, air.
Children work through a set of scenario cards and gain or lose counters depending on how their creature is being affected by changes in habitat caused naturally or by humans.

Activity
The children choose an animal from a set of pictures. The animal is stuck to an A3 sheet and the children create a habitat round the animal which provides the correct food, a source of water and the correct type of shelter.

Living things and their habitats year 2

Habitat conditions needed for mini beasts
The experiment thinks about the microhabitats present in the science centre garden and determines the conditions present in each one and then tries to match specific mini beast requirements to these enable the children to predict the creatures that may be in the habitat and then to test the predictions.

Investigating the leaf heap
Carefully looking through the leaf heap to find as many different organisms as possible and understanding how these creatures find food and shelter.
Close study of the organism with magnification to assist with identification

Wormery study
Children can see that it is possible to create an artificial habitat for a particular species and how the organisms are helping us.

Each group will make a small wormery to take back to school to observe over time.

Pond Dipping
6 small raised ponds in the Science Centre allow the children to pond dip safely.
The children work in pairs to see what they can find and study their creatures using magnifying glasses, bug viewers.
There is also an underwater camera that allows them to watch the creatures under the water.

Living, dead, never living
The children look at a variety materials and objects.
They work as a group to determine which group each falls.
This allows the teacher to observe team work s
kills, English and reasoning.

Food chains
An introductory activity allows the children to use masks to become the animal and think about what they might eat and who might eat who.
Children then work with model food examples and tubes of different diameters: each represents a different British animal. Tubes representing animals higher up the food chain get bigger in diameter so they can ‘eat’ their prey.

Everyday materials Year 2

Which type of paper should be used?
A series of investigations to compare the properties of kitchen roll paper, printer paper, and newsprint.
Observing the differences in texture and appearance using magnifying glasses and their sense of touch

Investigations:

How well the paper absorbs oil?
How well the paper absorbs water?
Whether it is easy to draw on?
Whether it creases easily and retains the fold?
Whether it could be used to wrap a present?
Why are spoons made of different materials?

The same everyday object is often found made from different materials.
Children investigate teaspoons made from thin and thick plastic, metal and wood and
see how this may relate to their use.

They carry out 4 investigations
How quickly the handles get hot using thermo chromic paper to monitor the progression of the heat along the handle

Compare the weight of similar sized spoons
Compare the strength of the handle
An adult demonstrates what happens when the spoons are put in boiling water
Once the results have been obtained the group discusses which spoon would be the best choice for a range of scenarios

Comparing balls made from different materials
There are many games that use a ball but the balls are made of different materials.
First the children are asked to match the set of 14 different balls to how the game is played. Does it use a bat, racket etc. or is it hit with a part of the body.
Once the balls have been grouped can the children work out any similarities between the sets of balls.

Can they suggest what the balls are made from and what might be inside?

Can they predict which balls will bounce and how high and then carry out a test to check their predictions

Extension investigation
Investigate how the balls roll on different surfaces.
Uses of everyday materials
Investigate a range of materials and rate them for a number of different uses.
Can they then discuss the advantages and disadvantages of materials with similar properties for a particular application e.g. which of the soft materials would be best for making a cushion?

Download full PDF above for a copy of this information

Year 3

Read About

Seed dispersal
This experiment looks at the various mechanisms of seed dispersal, by carrying out a series of small investigations to demonstrate each method.

Build a model flower
By making a 3d model the children learn each part of the flower, the function and how the different parts work together.

Water movement through plants
Using coloured water the plant concentrates dye in areas where the water has moved to in the flower.
The children are able to study the flowers. The flower can be dissected and to see the different structures.

How does a plant work?
This is a group activity where each child is doing the job of each part of the plant using a large interactive model.
Children learn the functions of each part and how the seeds are formed and how they will be distributed.

Life cycle of a dandelion
The activity starts with short introduction looks at the different stages in the life cycle of the Dandelion

The children make a ‘flip book’ that continually cycles.
Pictures of the dandelion at different stages of growth showing above and below ground level appear in sequence.

Looking at variation using the trees in QM grounds
Using the trees in QMC grounds to look at variation in seed dispersal, leaf shape, flowers etc. depending on the time of year

Animals (including humans) year 3

Studying human and other skeletons
– Use the life sized model skeleton to explore different parts of the skeleton to understand function.

– Compare the human skeleton to 6 other actual skeletons noting the similarities and differences and suggesting reasons for these and those of further animals using X-rays.

– Other activities assemble the x-rays of a life size human child.

Build a model arm
Make a model of the arm to show how the muscles interact with the skeleton

Food Testing
An introductory Discussion about different foods is followed by food testing.
Starch, fats and Vitamin C are tested for.

Daily food tray
An introductory discussion on food groups

The children play a dice game to assemble a daily tray of food.

Assembling the skeleton
Children piece together the set of life size x rays of a human child and learn the names of the main bones and their function in movement support and protection of body organs.

Compare how animals move
A group discussion about vertebrates and invertebrates and the different types of skeleton is followed by comparing the ways that different invertebrates and vertebrates move.

How the skeleton works
The experiment starts with the group studying some large actual bones and discussing what part of the animal they may be from and its function within the skeleton then looks at the differences on shape between a doll with a with a wire skeleton that of a rag doll and then compare both to themselves. It also looks at the importance of joints and what they couldn’t do if their own skeleton wasn’t jointed. The children then make a model to take back to school to remind them of what they have found out about the endo skeleton.

Rocks and Soils year 3

Do rocks change in water?
The children conduct an experiment to compare metamorphic and sedimentary rocks and to identify whether the rocks absorb water.

Fossil Formation
Making a model fossil which allows us to show the process by which a fossil is formed.
The children can take their fossil home.

Fossil Hunting
A set of plaster of Paris fossils layered in a sandbox.
Allow the children to be archaeologists and carefully search for fossils and then try to identify what they have found.

How hard are rocks?
As an introduction children are introduced to six different rocks and study them using magnifying glasses. They then try to put the rocks in order of hardness and then test to determine whether their predictions are correct.

Volcanic rocks
The experiment begins with a Group introduction to an erupting volcano so the pupils can understand the process by which basalt and pumice are formed. The children will study actual samples of basalt and pumice using hand lenses/microscopes to see the difference in structure. Then they then produce a model showing how basalt and pumice are formed using molten wax.

What is in soil?
Children are asked to think about what a soil sample consists of. As they discuss each constituent they are given something to represent this from a hidden cache of constituents and they gradually create their own ‘soil sample’. This can then be extended by looking at the Wormery to see how compost is being formed from rotting vegetable matter and also discuss why each constituent is necessary for good plant growth.

Drainage of soils
Children are introduced to three different types of soil (sandy, loam and clay) and look at the structure under the microscopes and discuss the differences they can see. They then carry out an investigation to determine how fast water can flow through and how much water the soil can hold.

Light Year 3

Investigating shadows
The children conduct three experiments to show how the shape of a shadow will be related to the shape of the object casting the shadow

Which materials make a shadow
The children will find out if materials with different properties will make a shadow. The children have to predict whether or not six different materials will make a shadow.

Make a kaleidoscope
The children construct their own kaleidoscope to take home and discover what interesting patterns are made when the image is reflected a number of times in the kaleidoscope.

Reflecting light
The children find out that for anything to be seen it must reflect some light and some materials are much better at reflecting light than others. They place materials in front of the beam from a light box and discover if the beam of light bounces off of the material or object it will travel and hit the white board. This is followed by a group discussion of the results and understanding what it is about the materials that bounce light well.

We need light to see things
The children discover some things become visible with only a small amount of light whereas others cannot be clearly distinguished without a lot of light by looking through spy holes in a box. The box has 12 different spy holes and a central light and in each compartment there is a different object. They have to decide what the object is, its colour and features. By increasing the light the children will eventually see all the objects. They will then have to group the set of objects depending upon the amount of light required to see them and discuss what the object in each group have in common (reflective, light in colour, shiny, dull etc.).

Forces and magnets year 3

Design a magnetic fishing game
The children learn how magnets have everyday uses. Each child then makes their own magnetic fishing game to take home.

Experiments based around an airport theme:

Objects attracted to a magnet
The children use magnets to find objects hidden in a jacket and consider the materials that are not attracted and so understand the limitations for magnets for detecting different materials.

Magnetic trucks
Children can investigate a train of trucks held together with magnets and how loading the trucks affects the length of the train that can be pulled, also the effect of pulling the train over different surfaces.

Make your own compass
Children learn about how a compass can be used to find North, what affects the compass function. The children make their own compass to take home.

Testing magnetic strength
Using different magnets to launch aeroplane shaped paperclips along the runway, making sure that the experiment is working scientifically so that the strength of different magnets can be compared.

Exploring different types of magnets
The Science centre has a number of different types of magnets that allow the children to have free investigation to find out the properties of the magnets.

Download Full PDF

Year 4

Read About

Classifying animals using their skeletons
Children start off by having a group discussion using skeletons of some animals, x rays of a number of vertebrates and invertebrates to understand the differences between vertebrates and invertebrates then use skulls of several different vertebrates to study the teeth and try to work out the diet of the animal and place the skulls into the correct place on a Venn diagram or make a simple key to differentiates them.

Looking at the habitats in QM grounds
Walking round QMC grounds to look at the range of habitats available and then using their observations and information cards about British wildlife to consider whether a particular animal is definitely living in the grounds, wasn’t seen but the conditions are suitable, whether they may visit or the conditions are definitely unsuitable and so could never live in the College grounds.

Classification practice’
Children to use a key to name the toys thinking about how the key is constructed , the type of questions that need to be asked and understanding that careful observation is needed to ensure these questions aren’t accurate and specific to achieve the correct answer. The group is then split in half and each half works to make their own 3D key to identify a group of model dinosaurs/other models using only observable features. Each group will test the effectiveness of the keys made by the other group.

Identify the flowers in the Science Centre garden
Use the information provided in the experiment to identify specific plants in the garden.

The experiment requires the children to look in detail at the flowers of each plant and then to follow the key to correctly name the plant

Looking at measures QMC takes to manage the environment for wildlife
An experiment to study the way that the College encourages wildlife through habitat creation, how items are recycled and reused and measures taken to ensure that rubbish is correctly dealt with

Animals (including humans) – Year 4

Banana digestion
Introduction to the main organs for digestion by looking at the torso models

Practical activity to show how the different parts of the digestive system work sequentially to digest a banana by looking at the processes occurring in the mouth , oesophagus, stomach and intestines

Keeping teeth healthy
Three small investigations:

Investigating the anatomy of the tooth using a model and discussion of the importance of maintain healthy gums.

Looking at the function of incisors, canines and molars by simple little practical investigations

Looking at the effect of acid erosion of an egg shell and then relating this to teeth cleaning. Practical investigations to show how different foods stick the teeth surface and how to clean their teeth properly and practicing on giant teeth models.

Classifying animals using their skeletons
Discussion of the differences of vertebrates /invertebrates using x-rays

The children then study the teeth of a number of animal skeletons to understand that animals have adapted to eat different diets.

Materials year 4

What is a solid liquid or gas?
Investigate how the particles in solids, liquids and gases behave and are arranged in relation to each other by using marbles.
They use an air filled syringe system and compare to a liquid filled syringes to see how pneumatics work
They watch a demonstration of the difference in volume occupied when water is in a liquid or gaseous state by heating/cooling a water filled balloon

Changing state of water
Three investigations to help the children understand how substances can change state using water
Measuring the temperature of water as it boils using analogue and digital equipment
Investigating as a group the behaviour of solids liquids and gases
Watching water as it is heated and the solid ice changes to liquid and then to steam, and showing the process is reversible and learning the words associated with each change.
Looking at material states

Looking at range of materials under the microscope, performing simple tests to determine what state each substance is in.

The water cycle
Group activity 1:

This starts with a short introduction and discussion about the behaviour of water when it is heated.
Watching how water evaporates

Group activity 2:

Observing the water cycle model to see how the water evaporates from the sea, how the water condenses to form clouds and what happens as it begins to rain.
The children then fill in an activity sheet
Investigating plastics
A group discussion about plastics is followed by making a list of the things in the classroom that are made from plastics.
The children investigate Polymorph a thermoplastic with a low melting point that can be made into any shape and that it can be remoulded as many times as they would like.
That they understand that as long as the Polymorph isn’t overheated softening remoulding and hardening is reversible.
The children take their piece of Polymorph home with them.
Chocolate, butter, wax
An investigation looking at reversible reactions that happen when the materials are heated and cooled and using thermometers to measure the temperatures needed to change state.
Compare the melting points of different types of chocolate.

Sound year 4

Investigate how sound changes
Group introduction Using similar sized containers made from different materials to explore the types/pitch of sound that are made when balls of various materials/ sizes and number are put in and shaken.
Working in pairs investigating how the pitch of a twanged elastic band changes with how much it is stretched and the effect of different thicknesses of bands.
If time making a very simple 3 band guitar to take away and further experiment with.
Investigate sound toys
Children work out how to play a series of different instruments, how the sound is produced and what is vibrating. Examples of some of the instruments are dismantled to show the inner workings.

Making pan pipes
The experiment begins with an adult introduction and demonstration of how the pipes are played leads into a group discussion of how the panpipes work and the effect of pipe length on the pitch of the note.
The children then make a set of pan pipes to take away from drinking straw sections mounted on card.

Sound muffling
After a short introduction the children work in pairs to find out which materials are the best for sound muffling, using data-loggers to measure the sound level and make sure that they work scientifically so their results are comparable.

Travelling sound
A series of activities to enable the children to understand that sound is a vibration, how the vibrations travel and how the medium it is travelling through may affect the vibration.

Making an elastic band ‘tree’ guitar
Children can explore the effects of tension of the elastic band on pitch and related to the length of the string.

Electricity year 4
Session in electricity begin with the whole class making a human circuit model.
The children work through a series of little circuit challenges individually then in pairs and groups to familiarise themselves with the equipment before carrying out more applied investigations.
Clowns face (or Christmas Santa’s face or Pudsey bear or Red-nosed clowns around red-nose day)
Can the children make the clowns eyes light, can they make him blink.
Can they make his bow tie go round?

Picture animation
Children apply their knowledge design an appropriate circuits to animate a range of pictures, e.g. flashing light for a fire engine, make the bicycle wheels go round.

Conductivity
The investigation uses a clown that, when the circuit is completed his nose will light.
Two different children hold the left and right hands of the clown and the rest of the group hold hands to make a circle and complete the circuit. If the circle is broken the clown’s nose will not light
Children can then try holding different materials at a gap in the circuit to test whether it is a conductor or an insulator.

Electricity quiz game
A group activity answering a series of questions about electricity.

Download Full PDF

Year 5

Read About

Plants in winter
Looking at the strategies that plants use to survive winter conditions:
Comparison of deciduous and evergreen
Look at storage organs – modified roots, stems and leaves
Seed production in annuals
Comparison of frozen and fresh lettuce leaves and how this relates to plants that are frost sensitive

Asexual reproduction in plants
Using the plants in the science centre garden to understand the different methods that plants reproduce asexually and planting up some examples to take back to school:
Potatoes
Strawberry runners
Tradescantia cuttings
Black berry tip layering

Mexican hat plant new plantlets (plants kept sealed in transparent container because poisonous)

Bulb formation
Dismantle a flower

Describe the life process of reproduction in some plants:

Looking at a flower in detail by carefully dissecting a whole flower and identifying each structure the children can determine the processes involved in pollination and seed formation.

Living things and their habitats year 5

Life cycle dial
The life stages of a bird, mammal amphibian and insect are displayed on 4 dials that when assembled correctly show the life cycle of one of the organisms in the horizontal window. The central dial gives the first stage and the outside dial shows the adult.

Asexual reproduction in plants – (See Plants year 5)

Dismantle a flower – (See Plants year 5)

Animals (including humans) year 5

Gestation period of animals
Introduction to gestation, and then using the information to plot gestational age for various animals compared to their adult size or other factors and suggesting reasons for the differences. Looking at further information such as longevity animal size animal habitat to refine and suggest further reasons.

How humans grow
Exploring the children’s current level of knowledge and then using the build a body models to make humans at different stages in their life cycle so they can compare what areas of the body grow at different times and how the relative proportions change. This also gives practice in interpreting data from charts.

Variation in human growth
Collecting data about their height and foot length to answer the question ‘Is foot size correlated to height’.

Human life cycle time line
Collecting data from different sources to establish a time line of human life span. Studying the human gestation models to understand the development that occurs before birth.
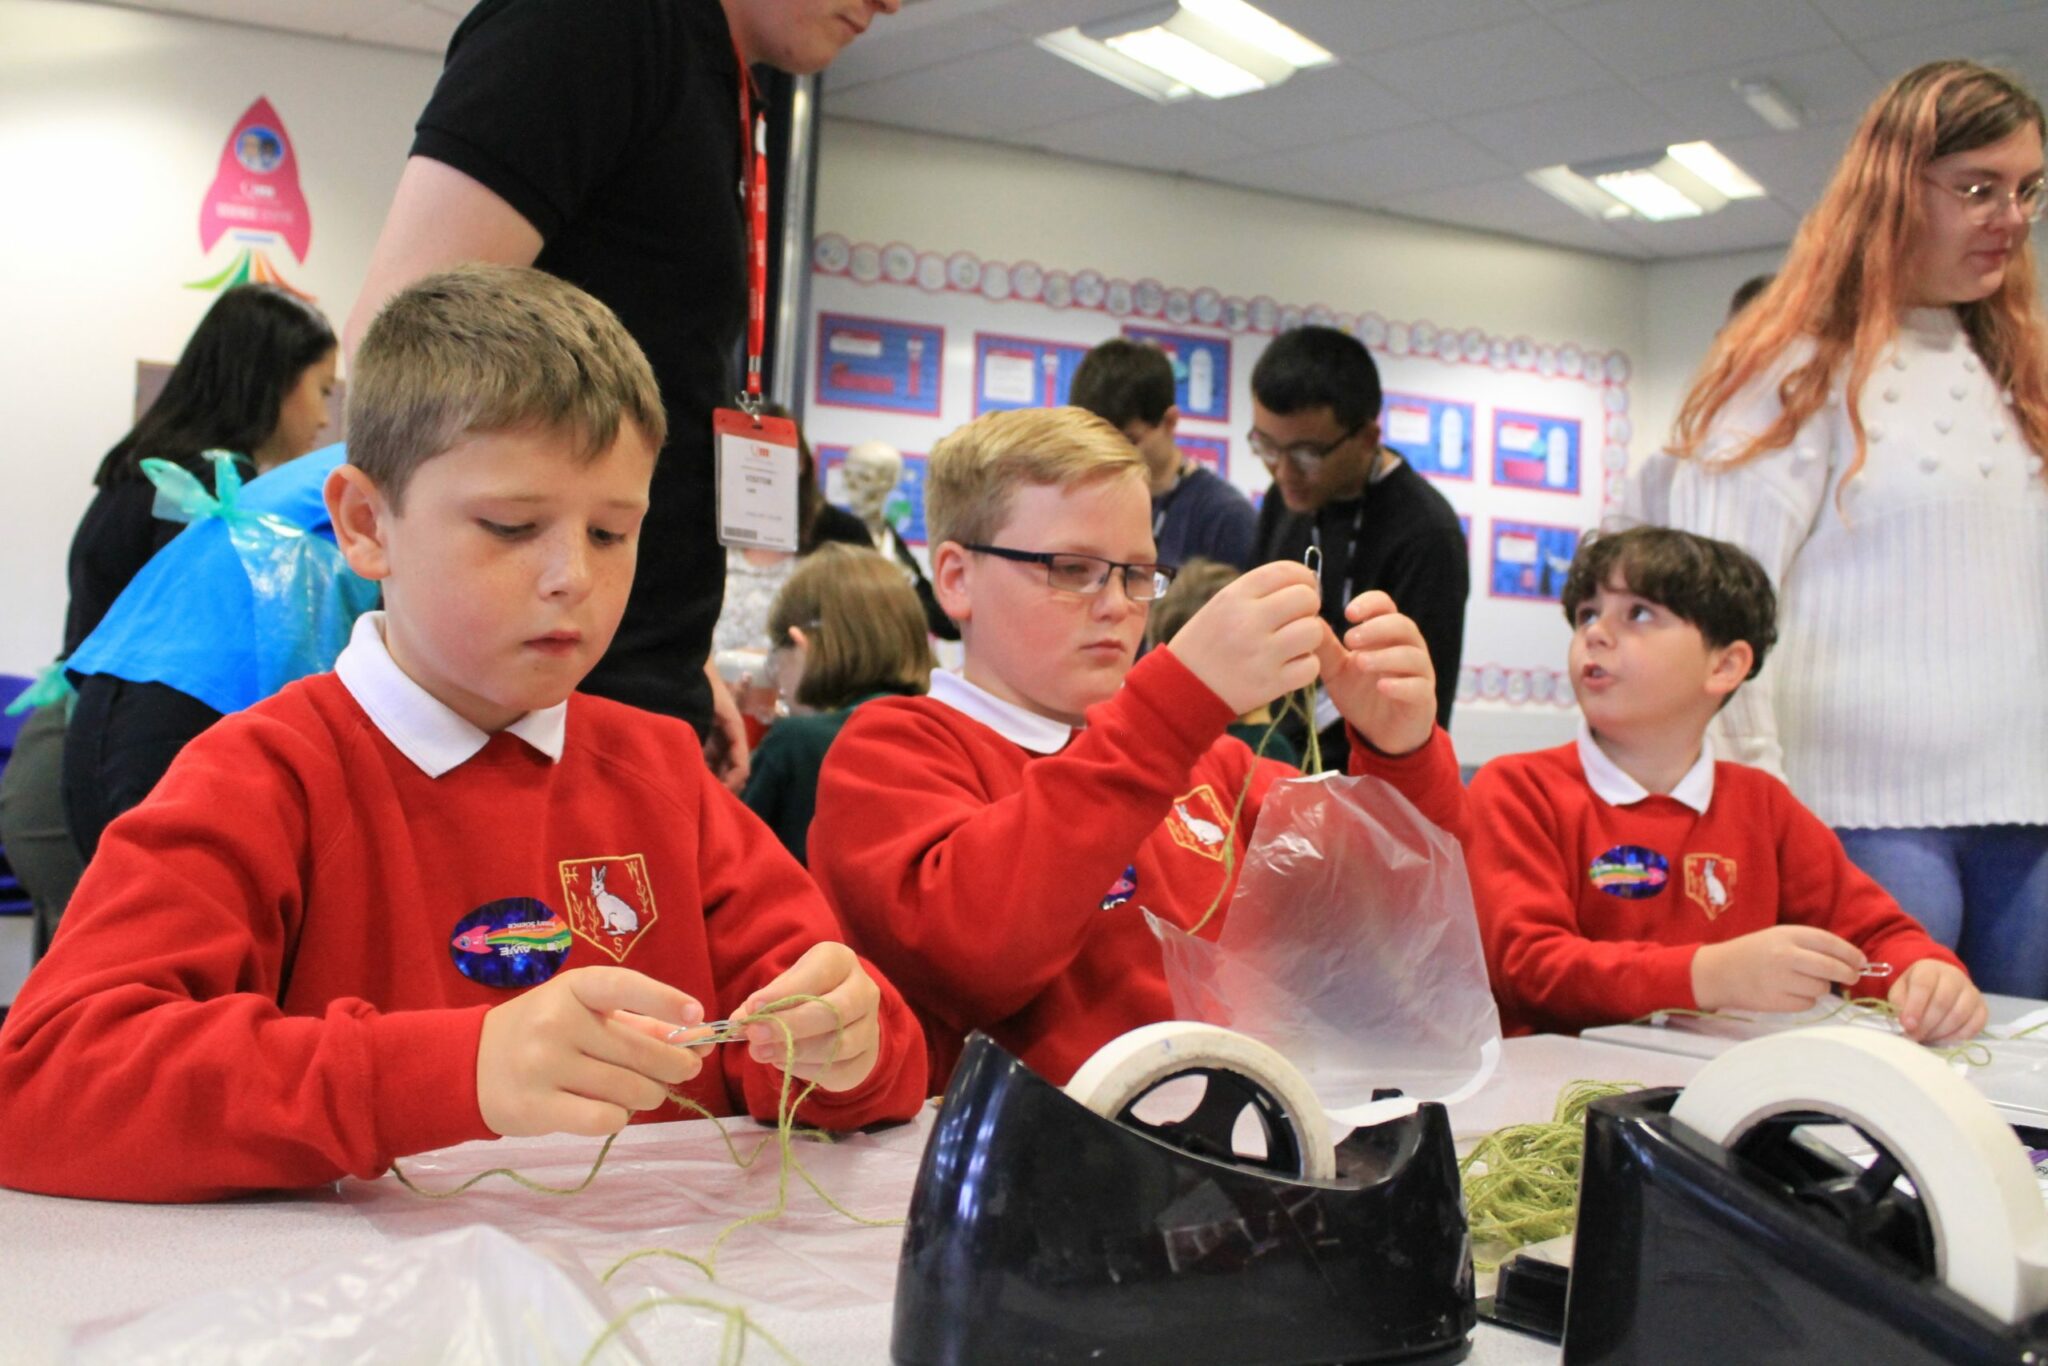
Properties and changes of materials year 5

Beach in a bucket
The bucket contains material from a beach: Pebbles, shells, gravel of different stone sizes, sand metallic and plastic objects, driftwood, seaweed, sea water.

All the items have to be separated into individual constituents using manual sorting, magnets, sieving and filtering, evaporation

If time the children to make a simple flow chart to explain to younger children the detailing the steps they needed to separate each item.

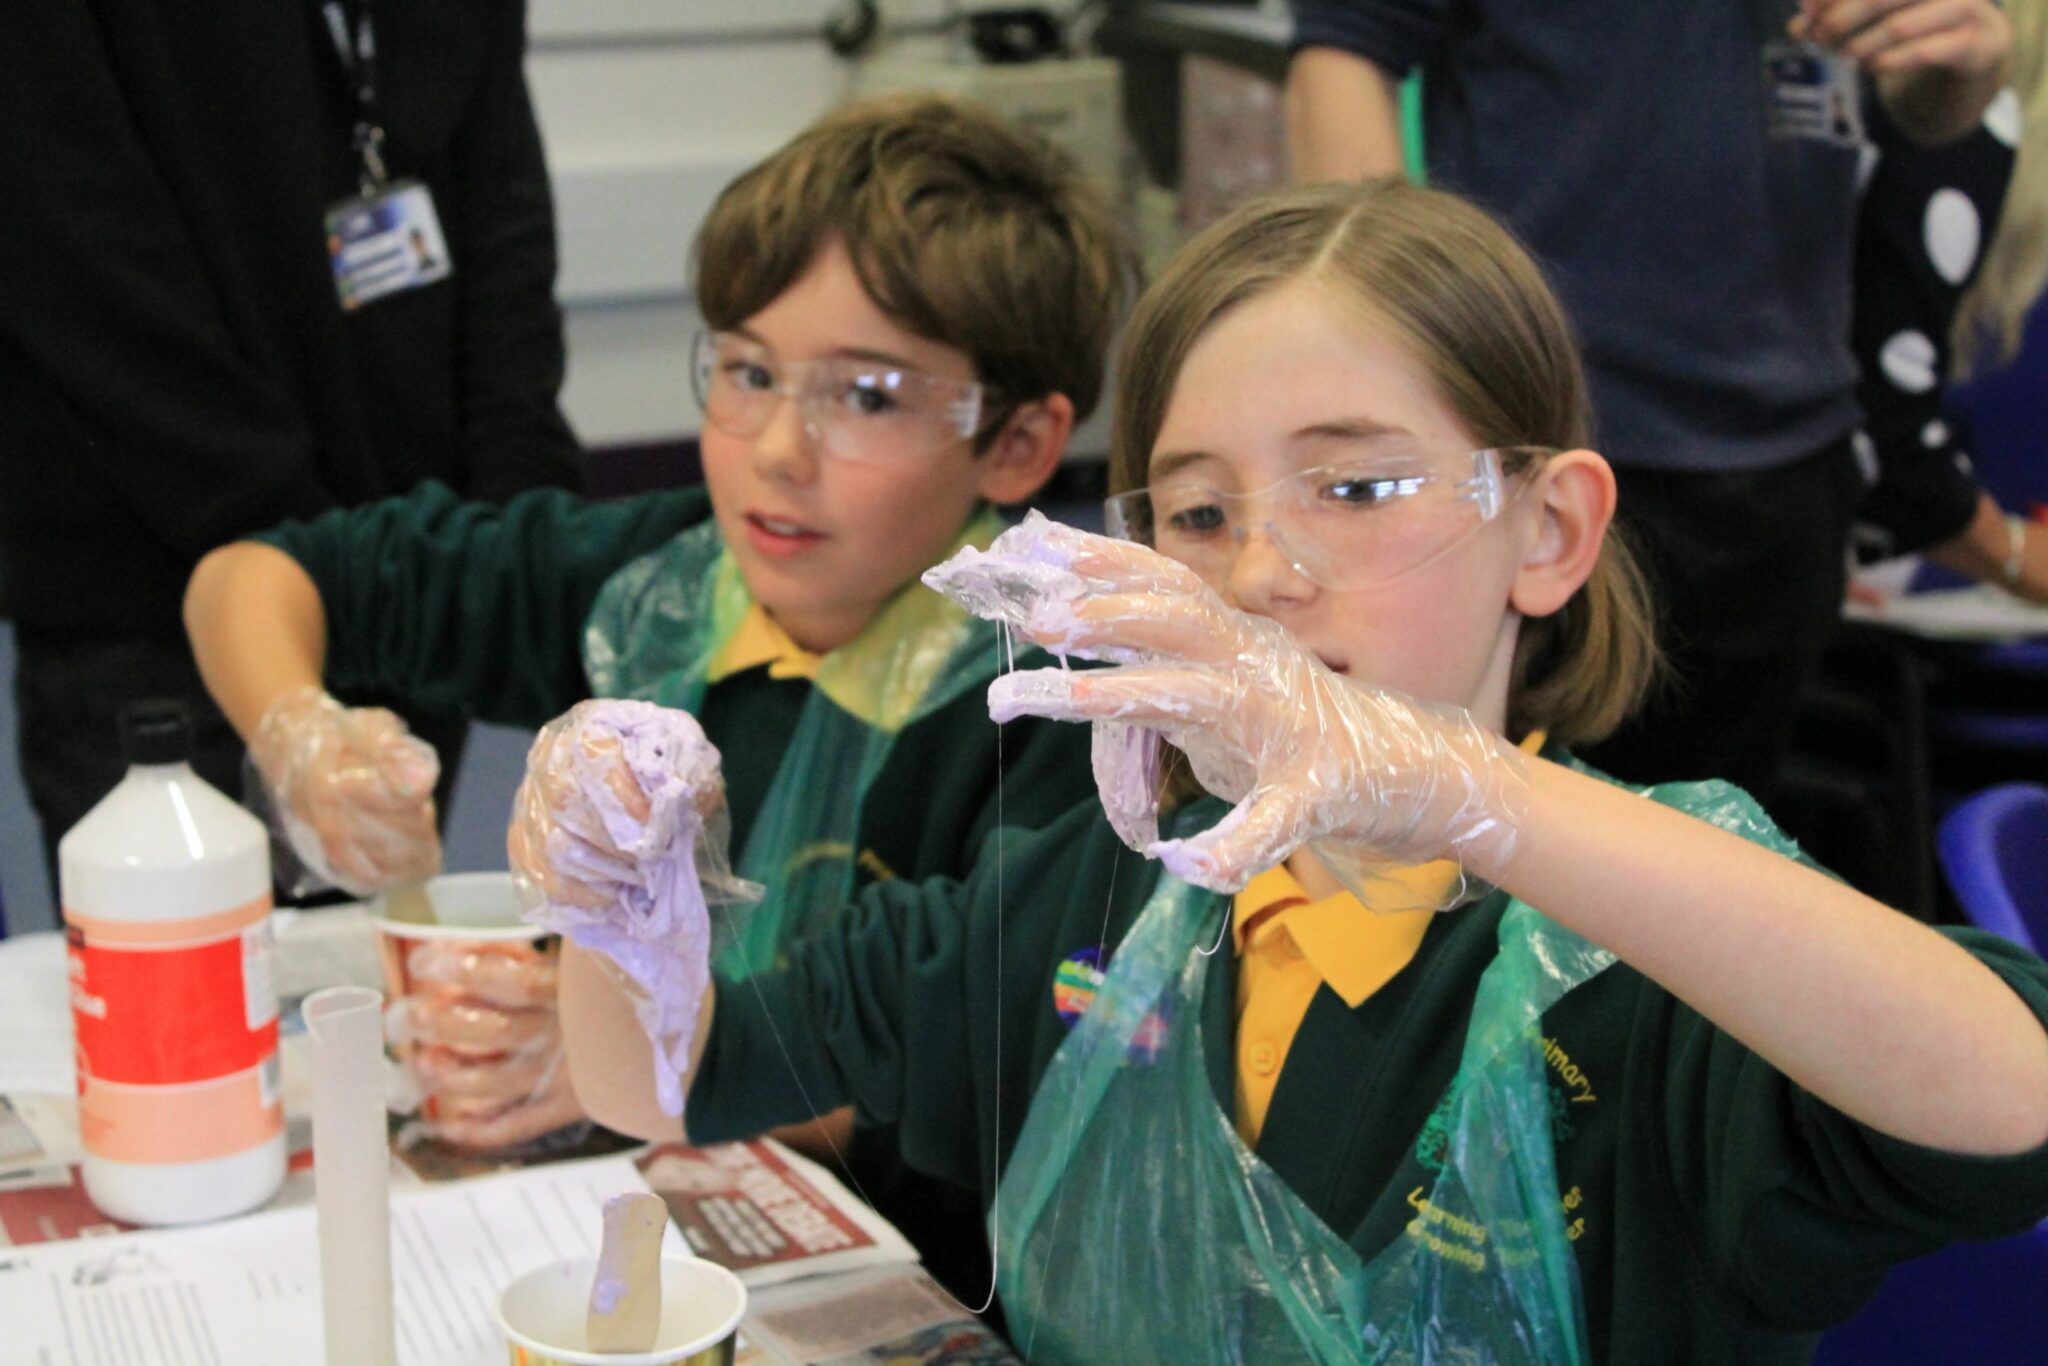
Burning investigation
First, a group discussion of the fire triangle and the conditions needed for burning to take place and noting that fire is an irreversible process

Investigation – Children observe how a range of natural materials burn comparing the rate and efficiency of burning to paper
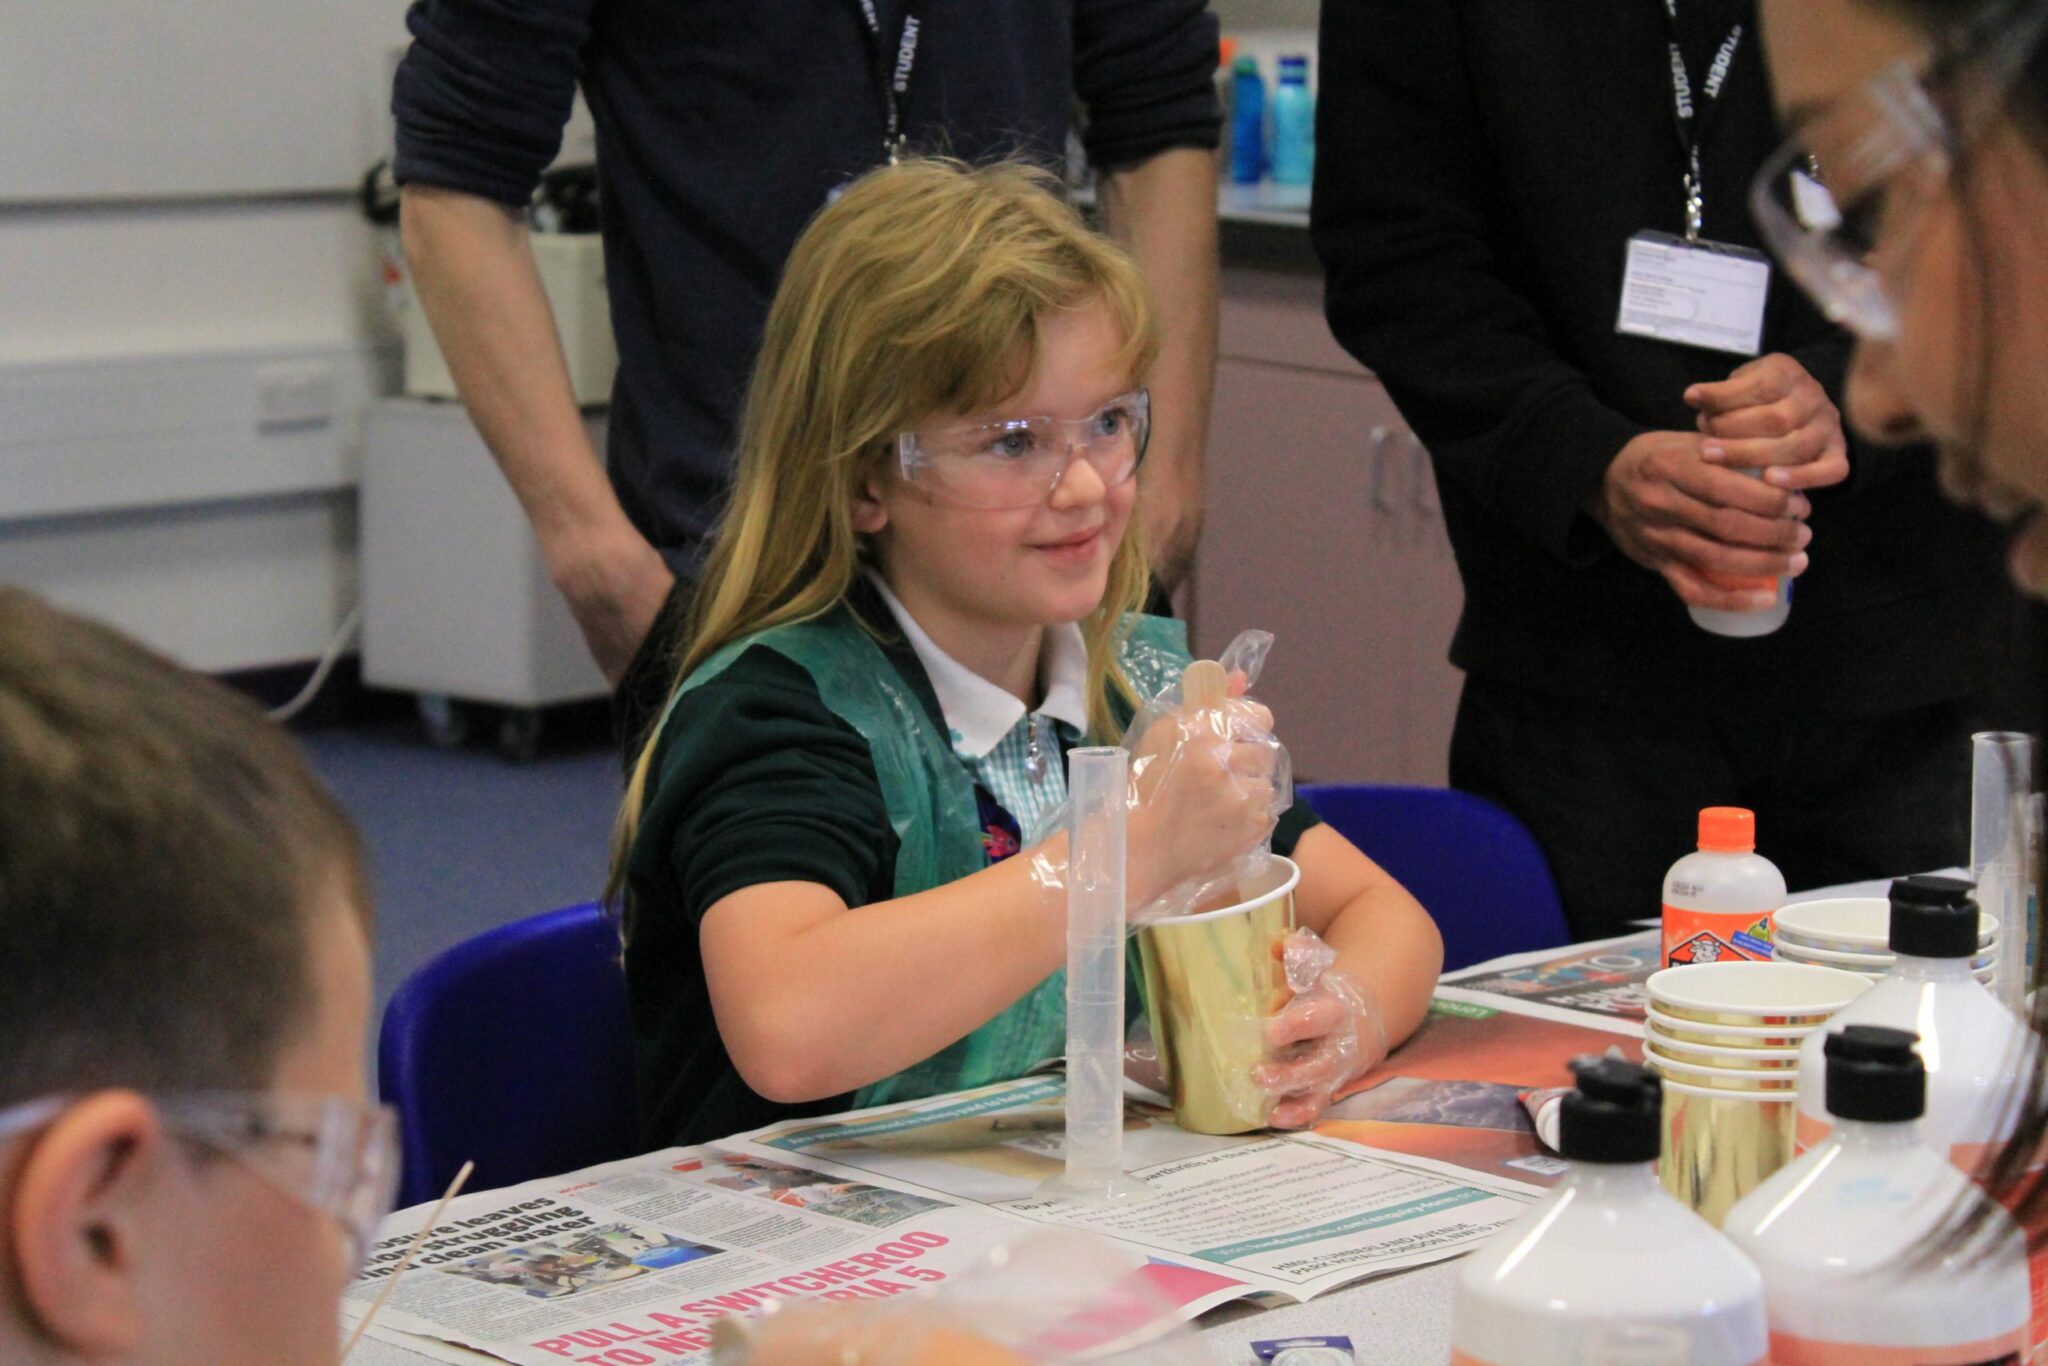
Cooked Breakfast
This investigation looks at irreversible reactions and reversible reactions used in the cooking process. The experiment looks at changes that occur when bread is toasted, an egg is cooked and butter melting.

Toasting is done over a tea light lame so the irreversible and reversible changes taking
place as the candle burns can also be studied.

Looking at reversible and irreversible reactions
A number of different materials are added to water. The children observe the changes and determine whether the reaction is reversible.

Rate of dissolving
The children design and carryout an investigation to determine whether the rate that salt dissolves in water is temperature dependent

Weather proof coat investigation
Children are given a set of fabrics and design an experiment to test the fabric for different for thermal insulation properties, whether the fabric is wind proof and waterproof.

If time there are a number of extension questions that could be investigated.

Separating mixtures
Children determine the best way to separate mixtures of 2 components.

Each mixture can be separated by more than one method so successful methods can be compared

Floating and sinking
Spinning
Straining
Filtering
Static electricity
Manual separation
Moving air
Rolling
Chromatography

Separating the constituents of secondary and tertiary colours in felt pen ink and colours on the outside of sweets

Earth and space year 5

Day and Night
The children use the Sun and Earth model to see how the rotation of the Earth gives day and night, and how the Earth’s orbit around the sun and the tilt of the Earth give us the seasonal changes that occur throughout the year.
They then make a paper 2D model looking down on the Earth from the North Pole to show the Earth rotation and how places get light and then are in shadow during the night as the Earth spins and use this to answer questions.

Looking at Planetary Orbits
The children observe the planetarium model and see the planets in orbit around the sun and consider the time taken for a single orbit and relate this to the distance away from the sun and the distance each planet travel to complete the orbit.

Using charts and books provided the children compile an information sheet about the orbits of the planets

The Moon Cycle
The moon cycle model allows the different phases of the moon to be studied and how these relate to the position of the sun.
A second model if needed also shows how the moon is not a source of light but is only reflecting light from the sun.
The children then make their own moon- phase dial and use books and charts to label each phase.

Shadows throughout the day
An interactive demonstration set up in the Science Centre dark area allows the children to see how the sun appears to move across the sky during the day, and how the sun’s position in the sky and the direction from which it is shining accounts for changes in the shadows.

Year 6

Read About

Looking at adaptation in plant leaves
Studying plant material from different climates and then building models of the leaves that can be made into a display poster showing adaptations

Living things and their habitats year 6

Practice in using keys – Pond dipping
The wide range of invertebrates in the Science Centre ponds provides a good opportunity for the children use microscopes and other magnifying equipment and underwater camera to accurately classify creatures using simple and more complicated keys pictures and charts.

Classifying the organisms in the Science Centre garden
The science centre garden has a wide variety of plants and habitats and is therefore ideal finding many creatures even at less favourable times of the year for the children to produce their own classification charts.

Organisms are classified into vertebrates, invertebrates, flowering and non-flowering plants and then subdividing these groups. For example: vertebrates into birds, amphibians and mammals and recognising that not all habitats will contain all the vertebrate classes; invertebrate classes or all types of plants.

Recognising and classifying the trees in QMC grounds
Looking for clues to the type of tree using observations that they have collected from the tree itself, and realising that, unlike animals the clues may not be attached to the tree. For example, seeds or seed cases may be under the tree, and if the tree is growing in a mixed group there may be seeds from another tree there as well.

Tree jigsaw
Collecting the correct pieces: bark, seed, flower, leaf, by correctly interpreting audio clues that make up the jigsaw for each tree species.

Sub-classification of insects
The group is presented with new information about insect wing types and observation of wings on microscope slides and then allowing the group to build a paper model for each one. Then to use these models to make a classification key to sort out the insects using only wing type.

Animals including humans year 6

How much food?
In the first part of the experiment the children think about portion size by seeing how the same portion looks larger or smaller depending on the size and shape of the container it is served in.
The second part thinks about snacks – what a snack is, how big it should be and the best food for a snack.
The third part of the experiment asks the children to interpret information from the nutritional information given on the back of all food packets

Why do we need water in our bodies?
A series of investigations allow the children to understand the importance of water. How it is involved in digestion, sweating and maintaining the cells of the body in balance.

Lungs and breathing
Studying various models to understand where the lungs are and how they respire.
The children use lung volume kits to find out the volume of their own lungs and collect data that can be used at school for further analysis.

The heart
The circulatory system and the heart are studied using a series of models that show the position of the heart, the difference between veins and arteries, the structure of the heart and how the double circulation works.

They use stethoscopes to locate their own heart beat and data-loggers to monitor their pulse rate before and after exercise.

What is in blood?
A group activity looking at 4 functions of the blood by using interactive models that show:

The red blood cells transport gases via the circulatory system and the gaseous exchange that happens in the tissues and the lungs.
How digested food is carried around the body and the function of the kidneys
The children pretend they are the white blood cells and fight an infection represented by different coloured Smarties.
How constituents of the blood start the repair of the broken blood vessels

Light year 6

Light absorption
The children find out that materials reflect or absorb light depending on their colour. They are asked to predict how two pieces of paper (one black and one white) will either reflect or absorb the light. Their predictions are tested by the use of light sensor equipment and will discuss their results identifying the difference between reflection and absorption.

Investigating refraction
The children undertake four different experiments to show how altering the path of light (refraction) can give interesting effects.

Light maze
A series of challenges using reflections allow the children working in small groups to discover the nature of reflections and how they can be used to redirect the path of light ray to light the streets of a model town with a single light ray.

Pinhole viewer
The group is first introduced to the idea of a pinhole camera and the theory is demonstrated using the model.
The children then construct their own camera to take away with them, and complete a result sheet.

Reflection from a flat mirror
Children use a flat mirror to reflect light rays to compare the angle that the incident ray hits the mirror relates to the angle that the reflected ray leaves the mirror. The angles are measured using protractors or compared by using wedge shaped pieces of paper cut at different angles.

Studying how we see
This group activity first looking at the 2d foam model and then 3d model of the eye itself, and the 3d working model to see how the image is formed on the retina. Then completing the worksheet to show the path of light from the source to the retina

Make a periscope
Children make a simple periscope so that they understand the principle involved in the workings of the periscope.

Forces year 6

Air resistance and parachutes
Experiment to consider the forces acting on a parachute as it falls how size affects the speed of the fall. Parachutes are launched from the first floor balcony.

Water Resistance
Investigation of how the shape of a boat bow affects the movement of the boat through the water using a set of 6 different shapes. The children work in small groups to plan the experiment design the experiment so the tests are fair and results for each boat can be compared

Investigating pulleys
Using different pulley sets to understand how mechanical advantage can be gained by using pulley and their application.

Investigating gears
Experiment in development.

Investigating friction
Investigation to understand friction and how it can be reduced and increased and the implications for different applications

Investigating levers
Experiment under development.

Electricity year 6

Children make their own switches and apply this to making a burglar alarm.

Investigation into the loudness of buzzers
Measuring the difference using data-loggers: the data can be used for further work at school.
Children use circuit diagrams children build circuits or build circuits for a purpose (some of the circuits they built in year 4) then draw the circuit diagram that represents it.

Investigation into motor speed
Covering various percentages of a solar panel to find out how this affects the motor speed by counting the revolutions of the turntable.
Christmas themed activities to build circuits from Hotwires kit that will help out at Santa’s factory (different scenarios for other times of the year)

Evolution and inheritanceyear 6

Camouflage and mimicry
The pupils stand a distance away from a picture onto which a number of butterflies have been added. Starting at 10 paces away they note down how many are visible then approach the picture 2 paces at a time noting how many more can be discerned.
They then study a series of pictures where the animals use camouflage or mimicry techniques as a defence mechanism. Extension work looks at the differences between the adult and juvenile colouring of a robin.

Classifying beak shapes
The children pretend they are birds and use a variety of shaped tongs/tweezers as beaks to try and pick up materials representing the diets of different bird species. This allows them to think about the various types of diets available to birds and how the shape of the beak has adapted for optimum use.

In The second part of the experiment the children use the shape of the beak to work out the probable diet of the particular species of bird.

Frog adaptation to habitat
As a group the children spend a short time looking at the habitat in the science Centre Garden and the areas that may be particularly useful to the frog.

Then study an actual frog skeleton to look at the features that allow the frog thrive in the habitat at all stages of the life cycle and how the frog adult and the tadpoles are adapted to their particular environment and make a booklet .

Variation and adaptation in a population
Children are introduced to variation within a population using pictures of a litter of Labrador puppies. Children see that there is a big a variation in colour and size and consider how these traits could provide advantages or disadvantages to survival in the wild.

Activity
Children then introduce to the Science Centre population of paper frogs and note the variations. A series of scenarios are proposed and frogs that are least likely to survive are removed, leaving the rest to breed (More frogs are made) and pass on traits to the population that are helpful to survival.

(It is stressed that the changes in this population have occurred in a couple of generations, but in the wild changes in population occur over many generations)

Adaptation in plants – see year 6 plants

Download Full PDF